Older Posts
The Blog can only display a hand full of posts at a time. To view older posts and photos click "Older Posts" following the last entry on the page to see the next batch of photos, or use the index in the right column and click on the name of the person you wish to view.

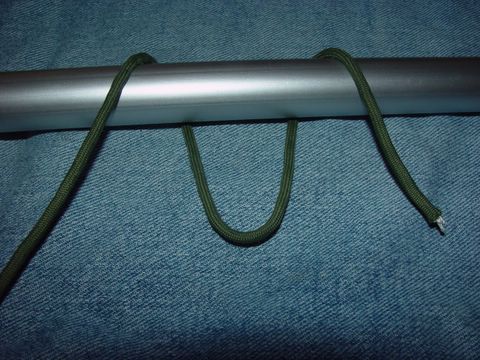
The Truckers Hitch looks complicated, but once you try it a few times is should be one of the easier hitches to tie. To begin, pull a Bight over the top of the post. (note: I left the working end of the rope/cord short to make it easier to photograph, you will need a longer piece of working end to finish the hitch)
Posted by Scott Collins (Click to Enlarge Photo)
Lay the bight over the back of the post
Posted by Scott Collins (Click to Enlarge Photo)

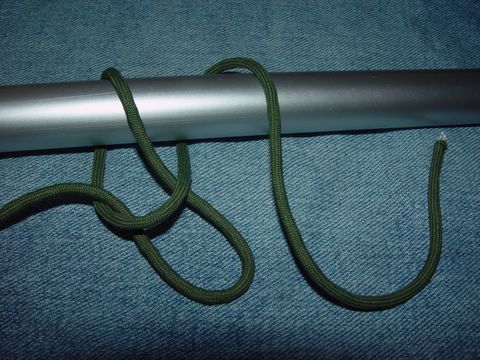
Pull another bight from the standing end of the rope, and push it though the bight you laid over the back of the post
Posted by Scott Collins (Click to Enlarge Photo)
Pull another bight in the working end of the rope
Posted by Scott Collins (Click to Enlarge Photo)

And push it though the bight from the standing part of the rope
Posted by Scott Collins (Click to Enlarge Photo)

Pull the standing part of the rope tight. A sharp tug on the working end of the rope will pull the hitch completely free from the post. I've put this hitch under a lot of strain and while it hasn't come loose, it can bind up on itself and make it tough to release. This would be a good hitch for hauling up a bucket or a power tool that won't slide off.
Posted by Scott Collins (Click to Enlarge Photo)

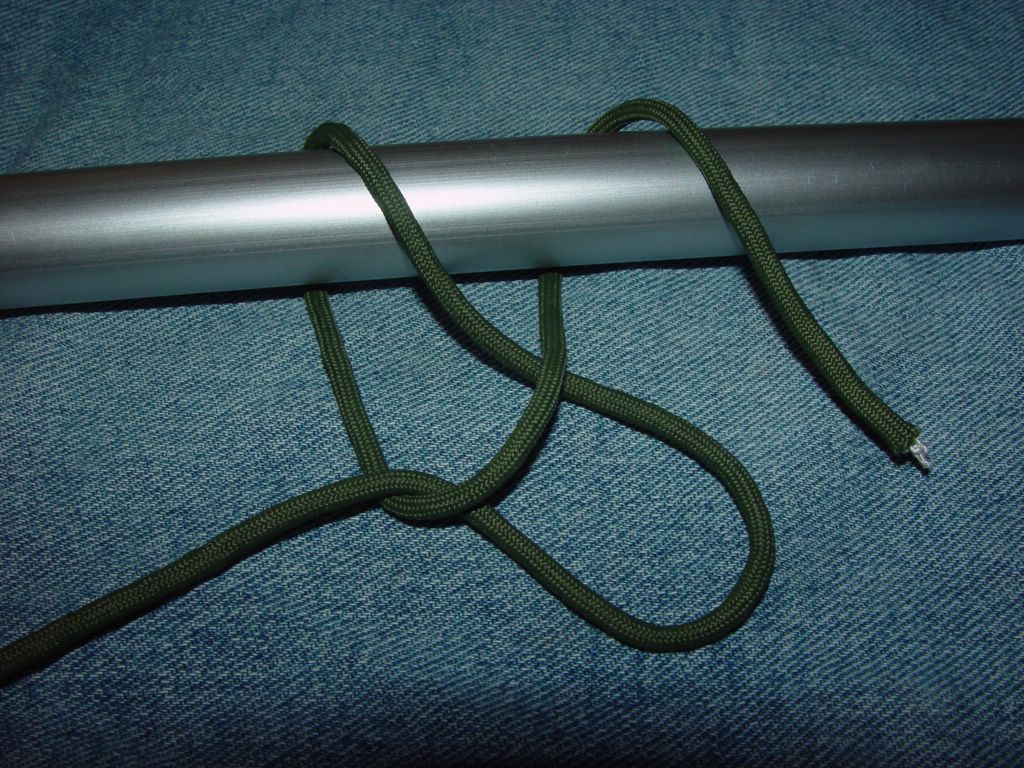
This Clove hitch is a little more snug than the regular Clove Hitch. Begin the Double Clove Hitch by looping the working end over the post and to the right as shown
Posted by Scott Collins (Click to Enlarge Photo)

Loop the working end over and to the left of the standing part of the rope/cord
Posted by Scott Collins (Click to Enlarge Photo)

Loop working end around a second time to the left of the first loop
Posted by Scott Collins (Click to Enlarge Photo)

tuck working end underneath both loops and to the left of the standing end of the rope/cord
Posted by Scott Collins (Click to Enlarge Photo)

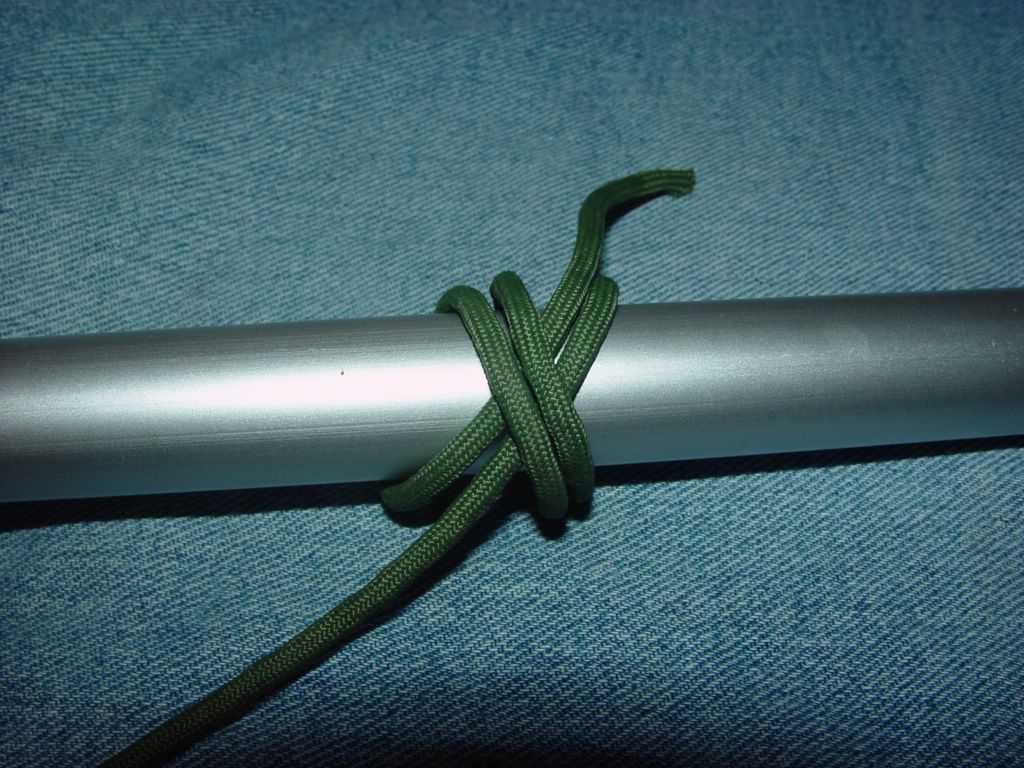
Pull knot as tight as possible
Posted by Scott Collins (Click to Enlarge Photo)

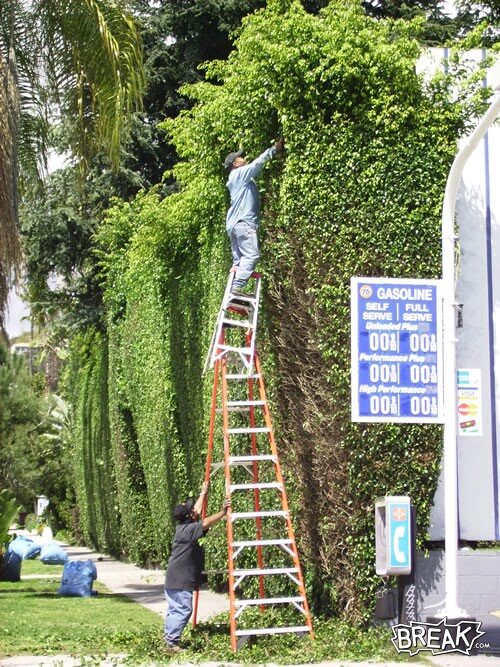
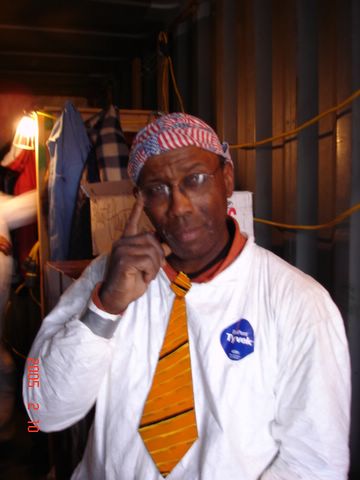
Where's OSHA when you need them?
Posted by Scott Collins (Click to Enlarge Photo)

(Photo by Jim Bean)
Posted by Scott Collins (Click to Enlarge Photo)

(Photo by Jim Bean)
Posted by Scott Collins (Click to Enlarge Photo)

(Photo by Jim Bean)
Posted by Scott Collins (Click to Enlarge Photo)

(Photo by Jim Bean)
Posted by Scott Collins (Click to Enlarge Photo)

(Photo by Jim Bean)
Posted by Scott Collins (Click to Enlarge Photo)

(Photo by Jim Bean)
Posted by Scott Collins (Click to Enlarge Photo)

(Photo by Jim Bean)
Posted by Scott Collins (Click to Enlarge Photo)
(Photo by Jim Bean)
Posted by Scott Collins (Click to Enlarge Photo)

(Photo by Jim Bean)
Posted by Scott Collins (Click to Enlarge Photo)

(Photo by Jim Bean)
Posted by Scott Collins (Click to Enlarge Photo)

The following knot is called a constrictor knot, because like the snake, it squeezes against itself. This knot is useful for keeping the ends of rope from unraveling or around a cloth bag to keep it closed. Pass working end of cord over, behind, and to the right of the object to be bound.
Anonymous said...
Scott, The knot you are showing is called a clove hitch. If you go to realknots.com you will see the difference in the two knots.
Scott Said...
OK smarty pants, I tied from the wrong page, happy now? ; )
Posted by Scott Collins (Click to Enlarge Photo)

Pass the working end of the cord over the top and to the left of the standing part of the rope
Posted by Scott Collins (Click to Enlarge Photo)

Pass the working end of the cord around the back of the object.
Posted by Scott Collins (Click to Enlarge Photo)

Tuck the working end of the cord under the loop, to the left of the standing end of the cord.
Posted by Scott Collins (Click to Enlarge Photo)

Pull both ends together as tight as possible. Since this knot binds against itself, it will be both very secure, and difficult to remove. Using a knife to cut the cord that passes over the top will release the knot.
Posted by Scott Collins (Click to Enlarge Photo)

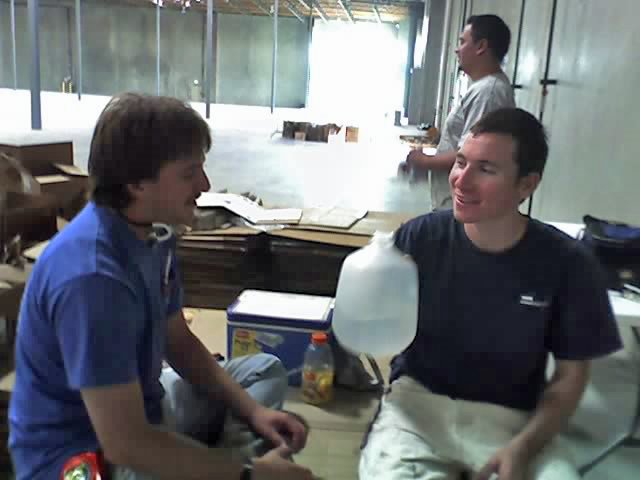
Toasting a job well done!
Posted by Scott Collins (Click to Enlarge Photo)

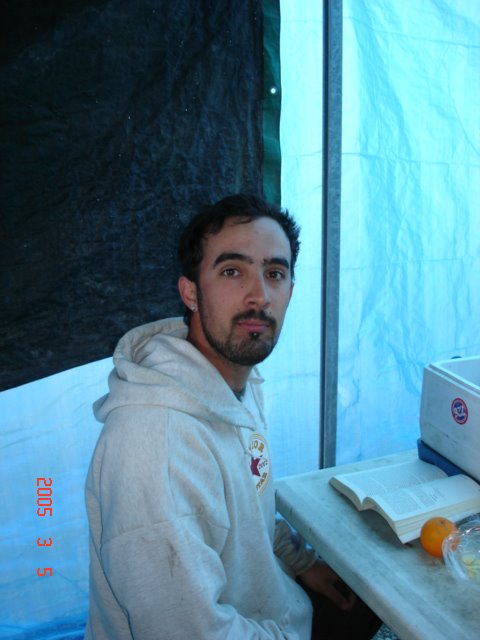
Fred Delpino
Posted by Scott Collins (Click to Enlarge Photo)

Hanging lights with the temperature well above 100 degrees near the roof
Posted by Scott Collins (Click to Enlarge Photo)

Posted by Scott Collins (Click to Enlarge Photo)

Posted by Scott Collins (Click to Enlarge Photo)